RecommendMail Facebook LinkedIn
- Industry 4.0
- Smart Manufacturing
- Digitization
3D scanners for image processing provide the third dimension to help you keep a close eye on your manufacturing quality
When you think of 3D recording techniques, do you first think of movies, avatars and dinosaurs, which bring fiction into our lives in a deceptively real way? 3D images are also advantageous in the industrial quality inspection of components and it is hard to imagine the automotive industry, electronics, medical technology or additive manufacturing without them. Read here how to use three-dimensional images – without special glasses – in production and development for fast and reliable image processing and analysis thanks to a 3D scanner.
, Alexander DrothenDue to rapid technical progress, 3D scanning technologies have conquered countless new areas of application in industrial image processing. LIDAR sensors in cars scan the environment to enable autonomous driving. 3D sensors navigate robots or observe people in real time to control human-machine interactions. Stereo sensors are integrated in game consoles or are used for the production and adaptation of customized medical and lifestyle products such as shoes, orthoses or dental prostheses.
In industrial quality inspection, 3D scanners enable fast and increasingly complete inspection and are increasingly replacing manual checks or time-consuming inspection routines with classic, tactile coordinate measuring machines. Industrial 3D scanners inspect complete car bodies, but also smallest components like LED optics or electronic contacts. It is impossible to imagine areas such as the automotive industry, aerospace technology, electronics, medical technology or additive manufacturing without them.

But why the third dimension, and why visually?

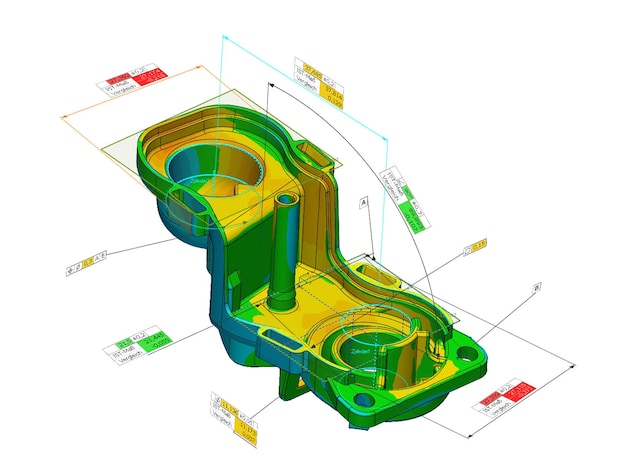
Industrial, optical 3D scanners produce an exact image of real manufactured parts in the form of a highly accurate 3D point cloud. The scan data can not only be evaluated three-dimensionally at specific points, but can also be compared directly with a digital target model, for example a CAD data set. Deviations are visible at a glance via color scales and errors can be easily localized.
3D scanners are significantly faster than conventionally used probing coordinate measuring machines and are largely independent of fluctuating environmental conditions. They are therefore ideally suited for analysis in incoming goods, sampling of prototypes or production monitoring of serial parts.
Besides quality assurance, 3D scanning is successfully used for reverse engineering. The real form of prototypes, design or shape models can be duplicated, manipulated or used for example for CAD/CAM production of individualized medical devices or consumer goods.
The abundance of available optical 3D systems is now quite large. In particular, optical 3D structured light scanners are very successful. They use the triangulation principle, similar to human stereo vision.
Stereo cameras observe a projected pattern on the measuring object from different perspectives. By finding corresponding points in both cameras, a high-resolution 3D model of the real object shape can be calculated. The measurement method based on phase shifting generates very fast and full-field 3D scan data with a measurement accuracy in the single-digit micrometer range.
We revolutionize the world in miniature – 3D inspection of press-fit contacts for the electronics industry
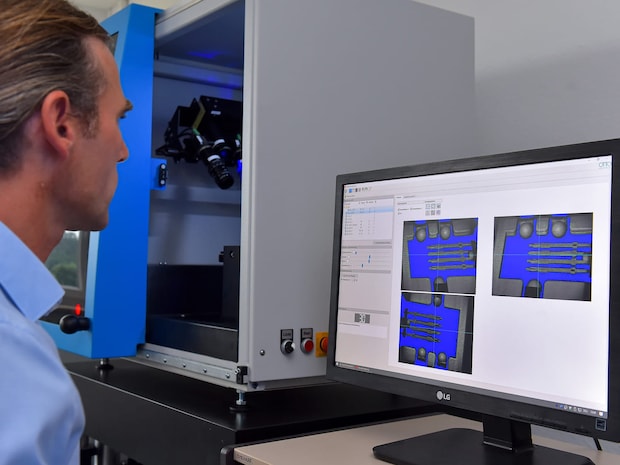
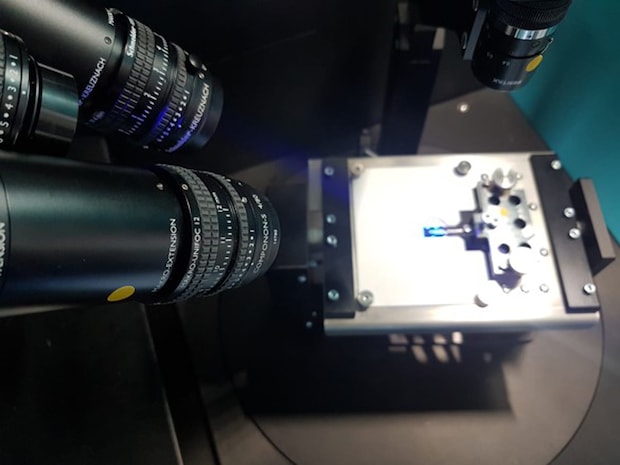
The FLEX-3A structured light scanner is characterized by two unique selling points. Its smart reference camera is used for the highly accurate, photogrammetric merging of the many partial views to form an exact 3D model. Each reference camera pixel works like a virtual register mark. Physical registration marks no longer need to be glued. And it can work with very small measuring field sizes at high camera resolution.
The object point resolution of up to 5 micrometers makes it especially interesting for the small parts of this world. Hardly any other available industrial 3D scanner based on fringe projection can claim this.

A successful application example is the non-destructive inspection of the flexible press-fit zone of press-fit contacts. So-called press-fit contacts are pressed into printed circuit boards in a quick and easy assembly process. Due to their exact shape and the flexible material, this can be done solder-free and therefore environmentally friendly. Despite the simple plug connection, the press-fit contact guarantees a long-term stable electrical connection. The technology is now standard in many connectors used by automotive suppliers and electronics companies for safety systems such as ABS, EPS or other electronic systems in vehicles.
In the past, the press-fit contacts, which are about 5-10 mm in size, were embedded in plastic and tested by a destructive micrograph inspection. This manual test method was very time-consuming with a duration of up to 90 minutes. The optical inspection brings clear advantages in speed. The FLEX-3A fully automatically digitizes the tiny contacts all around and inspects them in a virtual cut. Compared to the conventional method, the inspection process is now up to 10 times faster with a duration of approx. 8 minutes. The automation further simplifies the inspection process. Inspection cycles can be increased and in case of deviations, action can be taken much earlier. The simplified inspection process thus contributes significantly to the improvement of quality targets and increases the safety and reliability of the applications and systems concerned.
While three-dimensional images provide a different, often better film experience in movie theaters, they increasingly optimize quality control – thanks to 3D scanners – in the production environment of various industries. If you want to significantly accelerate and simplify your quality assurance process with optical 3D measuring systems, contact our experts and let them advise you!
Questions and Answers

The triangulation principle is a simple method of optical 3D metrology. Light sources such as laser lines or flat striped patterns are observed by one or more cameras and form a triangle.
If the orientation and position of the light source and the camera or several cameras to each other is known, the position of the observed object point on the surface of the measured object can be calculated.
Reverse engineering is the reversal of the production process. It is not based on the design drawing of a product, but on the finished product itself. This is fully digitized in three dimensions, which allows conclusions to be drawn regarding the form and the associated functionality.
Drafts, designs and products can thus be easily recorded, developed and improved. It is also possible to extract construction and form elements, which then serve as a data basis for simulation and optimization, e.g. in Finite Element Analysis (FEM).
Product recommendation
About Alexander Drothen
Alexander Drothen, Head of Sales for optical 3D metrology within the Jenoptik business of the OTTO Vision brand, has been working in the fields of sales, product management and application for over 15 years. In addition to fringe projection systems, applications for 3D inline inspection play an increasingly important role. Due to his long-standing experience in the field of optical 3D inspection, he is a competent contact person for our customers for the conception and implementation of technologically sophisticated products and solutions.


